I’ve made homemade pizza many times over the years.
And I’ve been disappointed in my results quite a few times too.
From soggy crusts, to pizzas that don’t bake evenly to those that just don’t taste great. (To be fair, there have been many homemade pizzas we really enjoyed too.)
A while back I found a free Craftsy pizza making class. It’s an online video course that comes with some recipes and shows how to really up your homemade pizza making game.
I watched the course recently and gave a few of the tips a try. And I learned a lot about pizza making, even though my first attempt didn’t go quite as planned.
But I’m determined to master the homemade pizza. I’ll be sharing tips and recipes with you here. I’ve got a great sauce recipe to share. And I’ve got a dough in the fridge right now that I have high hopes for. It feels lovely already, unlike the last recipe I tried, which never gained the soft, elastic quality you want in pizza dough.
For today I want to share 5 reasons why I’ve been disappointed in my previous pizza making attempts and what I’m doing to fix that.
Baking in an oven that’s not hot enough
Pizza needs a seriously hot oven. Way hotter than I ever would have guessed. Previously, I would bake my pizzas at around 400 degrees.
But I’ve learned through the Craftsy class and other reading I’ve done that you really need to crank up the oven.
Turn it to 500 degrees or hotter. Mine goes up to 550. Then turn on the convection bake if you have it. This will add 50 extra degrees to the temp.
With the oven heated as high as it will go, pizza will bake in just 5-6 minutes.
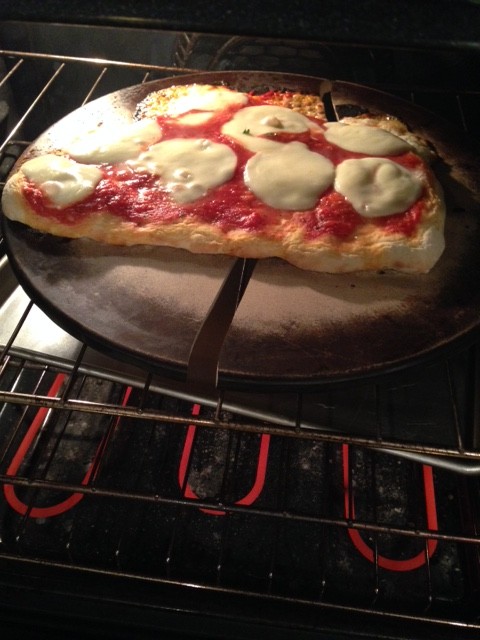
In case you’re wondering, baking stones such as you buy from Pampered Chef cannot take this kind of heat.
Proof:
Takeaway – Turn up the oven the next time you bake. But be sure to use a metal baking sheet or iron skillet if you don’t own a baking steel or pizza stone.
Pizza takes patience
Homemade pizza is not a 15 minute meal. I love, love, love a quick dinner, but pizza is not in this category.
And I think that may be why I’m drawn to it now. Learning to bake great pizza at home feels like a hobby and creative pursuit and less like the “get dinner on the table” routine that I do every day.
Good homemade pizza crust needs to be made at least 24 hours before it’s ready to be worked with. The dough needs time to become strong and elastic. Without that time, it won’t be possible to get it to stretch and form the crust.
Takeaway – Try making your crust at least a day ahead of when you’re planning to bake it.
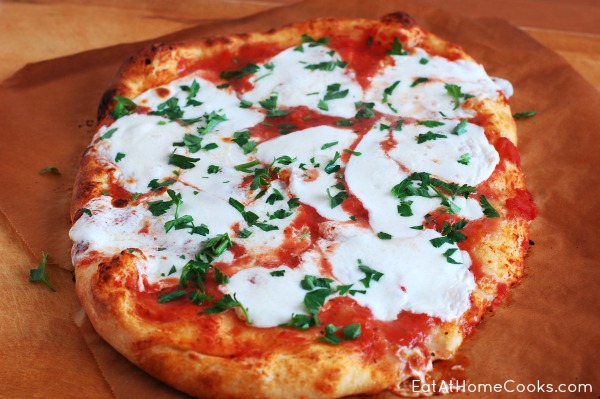
If you want round crust, start with a round dough ball
Last week I made homemade dough, but didn’t separate it into individual pieces until I was ready to work with it. I ended up with triangle shaped pizza crusts. (My dough had a few other problems that didn’t help either.)
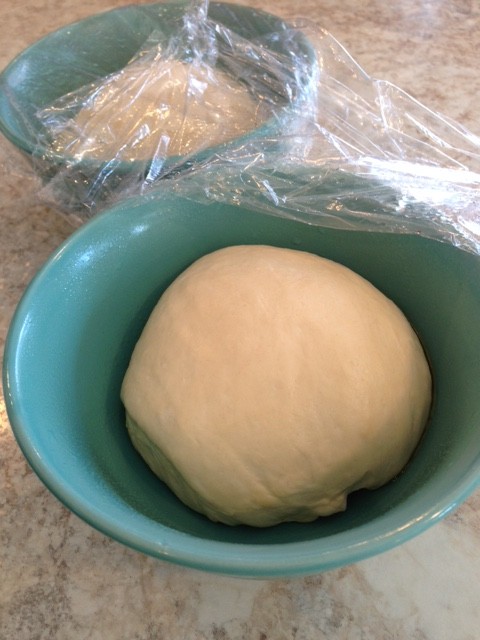
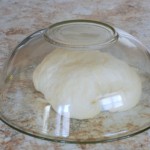
I’ve since learned that dividing the dough before storing in the fridge and storing the balls in a round container will help with keeping things round.
Takeaway – Store your dough already separated into pieces in a round bowl or dish.
Great flour really helps
I usually use bread flour for my pizza crust, but still wasn’t getting the results I wanted. This time I bought King Arthur bread flour and it’s made a huge difference. I could tell as I was running the mixer that this dough was a higher quality. And as I worked with it, I knew for sure.
High quality flour that is high in gluten will produce the best pizza crust.
Takeaway – Pick up a bag of high quality bread flour the next time you’re in the grocery.
Pizza tools are important
Pizza stones or baking steels that can take the heat are preferable to baking on a regular pizza pan.
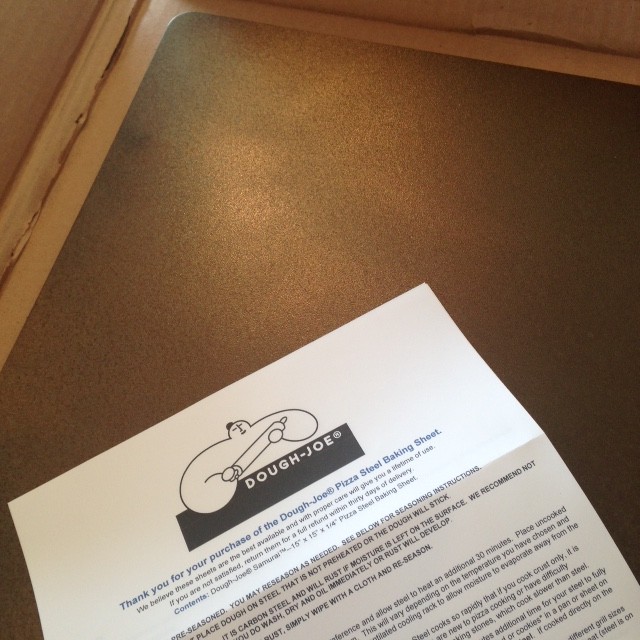
I’ve recently ordered a pizza steel from Dough Joe. These have the best price that I could find. It’s still an investment, but it won’t ever break. The steel is HEAVY! 15 pounds of metal.
We used this for the first time last Friday and I love it! It’s a pizza-baking game changer!
Dough Joe also sells pizza stones. I almost went with these. They come as a 4 or 5 piece set, so they aren’t as prone to breaking as one solid stone would be. They also aren’t as heavy as the pizza steel.
A pizza peel is essential for slipping the pizza into and out of the oven. I have this one that I bought from Bed, Bath and Beyond. I think it was in the Beyond section 😉
Takeaway – Consider purchasing a steel or stone and peel. Or use your iron skillet to bake your pizza if you’re not ready to invest.
Pizza making parties are fun
I gather all the ingredients on the kitchen island. Everyone gathers around to help work the dough, add toppings, talk and laugh. We eat each pizza as it comes out of the oven.
It’s messy, noisy, delicious fun!
Takeaway – Invite your friends and family into the kitchen with you to experiment and have fun!




Great tips! Have you tried grilled pizza? It’s really delish, with a wood-fired oven type of taste. You first grill the dough, then add toppings and return to the grill to melt the cheese.
I’m planning to experiment more with grilled pizza when it gets nice outside. Can’t wait!
We had the same problems and fixed our pizza the same way you did! We now use “00” pizza flour, it is so much better!
Our neighbors have a real pizza shop (7 locations) in our town and they had a party recently where they cooked pizza for everyone. Their oven was set to 500 degrees. It was very surprising to see. They also had the most awesome deep dish baking pans (the real deal obvi.). I was wondering about using foil. Sometimes we roll our dough and use foil to help it from sticking and getting a nice surface to work on… Does that make it cook faster/slower or is it not recommended?
Jen, I don’t know about the foil, but it seems like it would work. I have tried parchment paper and that worked great for sliding from the peel onto the pizza steel in the oven.
One thing that I picked up from working at a pizzeria, and now always to when I make pizza at home, is to brush melted garlic butter on the pan (add a sprinkle of cornmeal if you like) before you put the dough on it, then brush the surface of the dough, especially around the edges, before you add sauce and toppings, This makes for a super flavorful, beautiful golden brown crust!
These are awesome tips that I’m going to pass on to my husband, who is the one on the quest for the perfect homemade pizza process.
One tip he discovered was that if you’re using any kind of sausage or pepperoni type topping, lay it flat on a plate that’s been covered in paper towel. Microwave it for about 10-20 seconds depending on thickness. The purpose is to warm the fat inside the sausage and let it drain away. This eliminates most, if not all, of the nasty grease pool that you can get on a meat pizza.
Better quality cheese makes a difference too. We don’t use certain brands because they seem to get a plastic quality when melted. Yick.
Those are great tips!
I make a beer batter crust that was in the tiny cookbook that came with my old bread machine. Everyone that tastes it LOVES it. I’ve just incorporated it to use without my bread machine. I still bake it for 20 min on my stones at 400. But I make 4 smaller pizza’s so it does bake evenly.
I have a great crust recipe that I “fix up” with fresh garlic I am a garlic lover so I add 3 big cloves smashed in a garlic press and just some italian seasoningnagain I add 2 tablespoons you add what you like. it truly is the best I have found. You can use it right away, put it in the fridge or freeze it and it still comes out great……..if you use CRISCO instead of olive oil on your pan. I also don’t ever use any pan except my old round pizza pan or another old round splatter enamel pan. That’s it and my crust never fails me. I bake mine on 400 not 500 so if anyone wants the recipe-
1 1/2 cup warm water
1 tsp salt
1/3 cup olive oil
4 cups flour
1 package yeast (2 1/4 tsp)
Instructions:
Pour the yeast over the warm water in a small bowl.
In the bowl of your mixer, add the flour and salt and mix. Add the olive oil and using the dough hook, mix for about a min.
Add the yeast mixture to the flour mixture and mix until well incorporated. Shape the dough into a bowl and place in an oiled bowl, rubbing oil on the dough as well, cover with plastic wrap and refrigerate. If you’re not using the dough right away, you can also freeze the dough. Use Crisco on your Pizza pan. How long I bake is different for different people, my Hubby likes his cheese really brown , I prefer lightly brown in spots so bake until you like how it looks to you.
Thanks for sharing!
Thanks:)
Thanks for sharing this! It is cool to see your progress on making great pizza! However, this is not something that I could do in my home. I am way too busy to be taking a long time to make pizza! I would much rather go to a restaurant and get a pizza there!
Delores, I absolutely agree with you. Pizza making at home is not quick and definitely not something for a weeknight or fast meal. I’ve been viewing it more as a hobby. We won’t be giving up restaurant, delivery or take-out pizza altogether. But it’s been fun to learn a new cooking skill.
That is interesting that your pizza rock broke. Are there rocks that can handle the heat more? I would love to try out this super heat method, but I don’t know what to do with my rock.
I like to think of myself as a pizza connoisseur, but I’m not terribly good at making it myself, so I really appreciate this post. I’ll have to keep in mind good flour next time I go to the store. Even then, I doubt my culinary skills. Sometimes it’s easier (and tastier!) to just eat out. Regardless of how I get it, I think I’m going to have pizza this week!
Some of the best thin crust I’ve had had ovens set at 450.